← CloudScale Plugin Help/CloudScale Backup & Restore, Free WordPress Backup Plugin with One-Click Restore & Cloud Sync
WebDAV (Nextcloud, NAS)
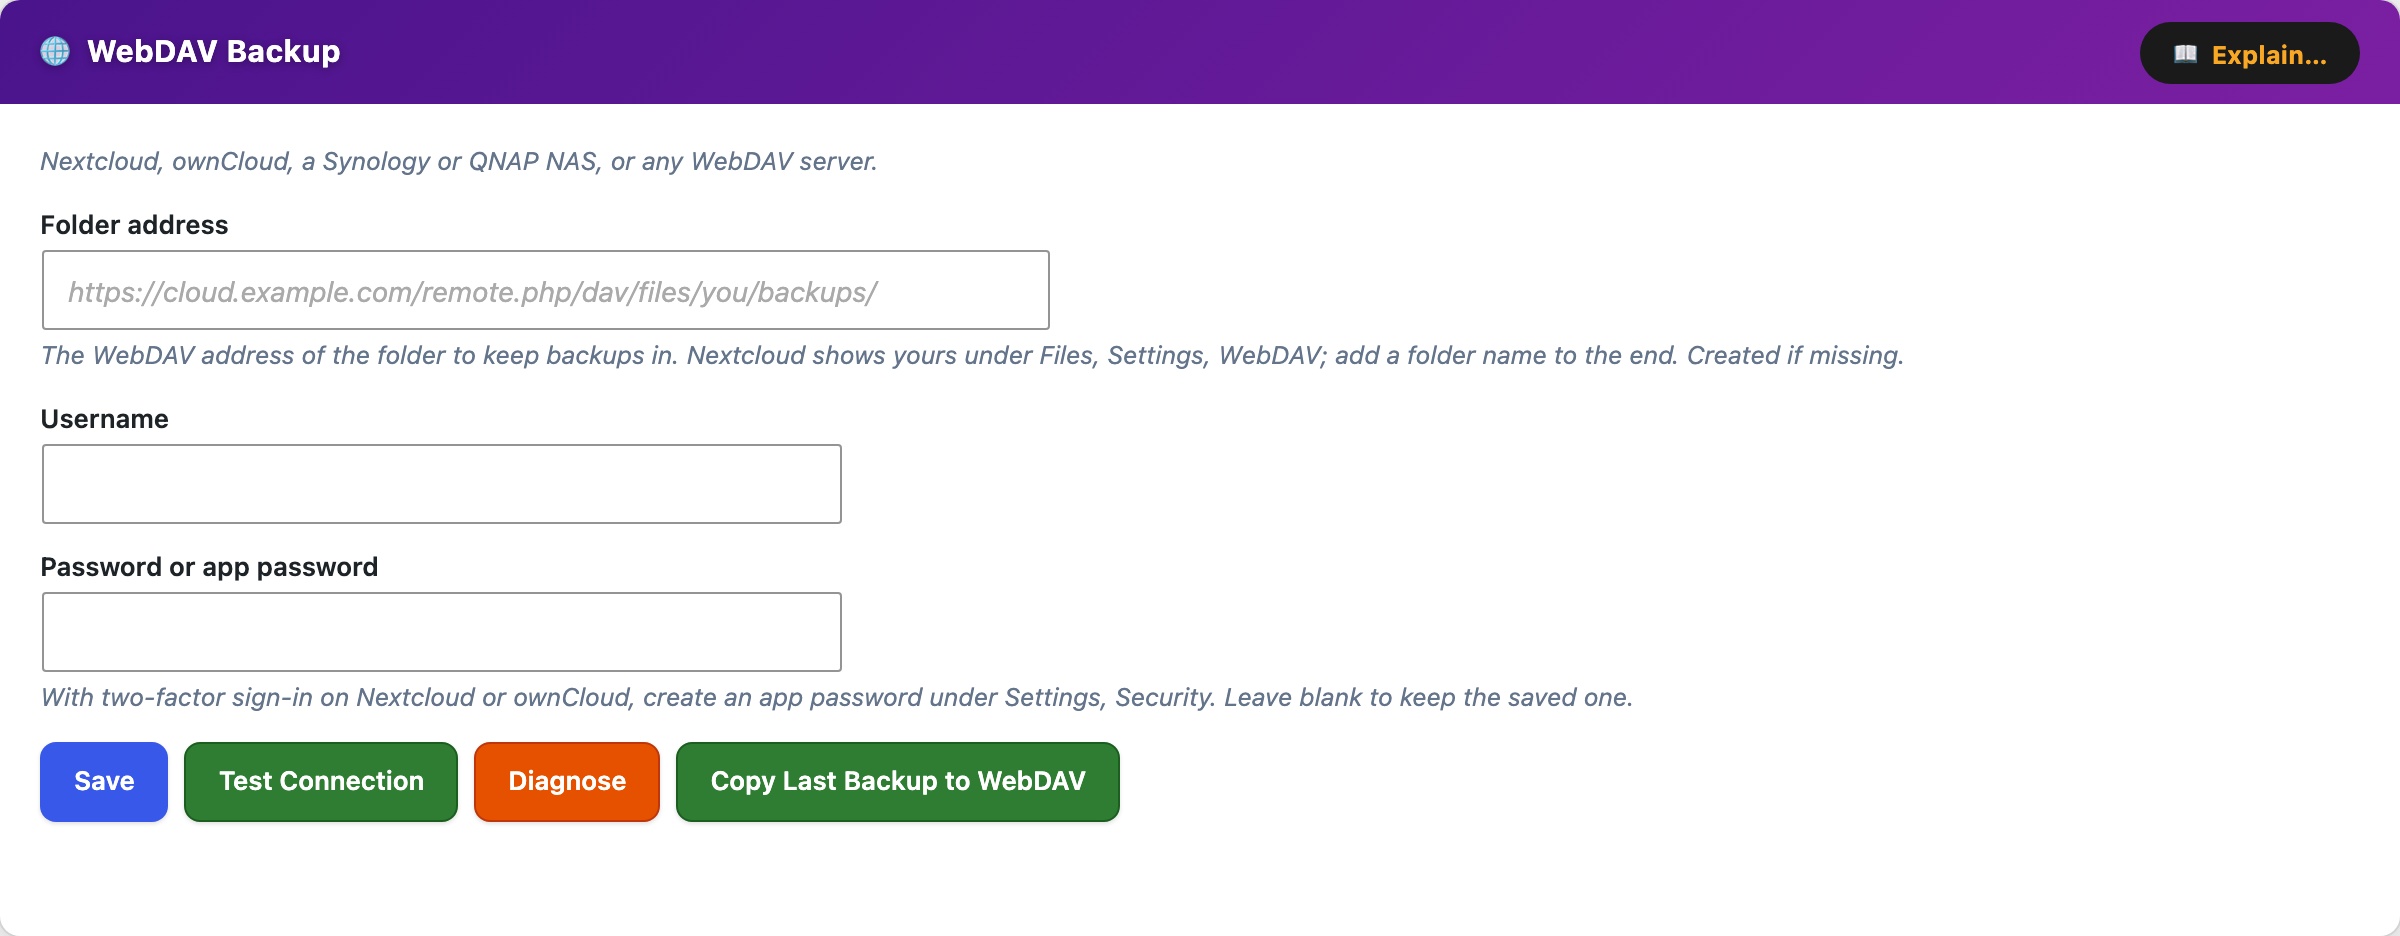
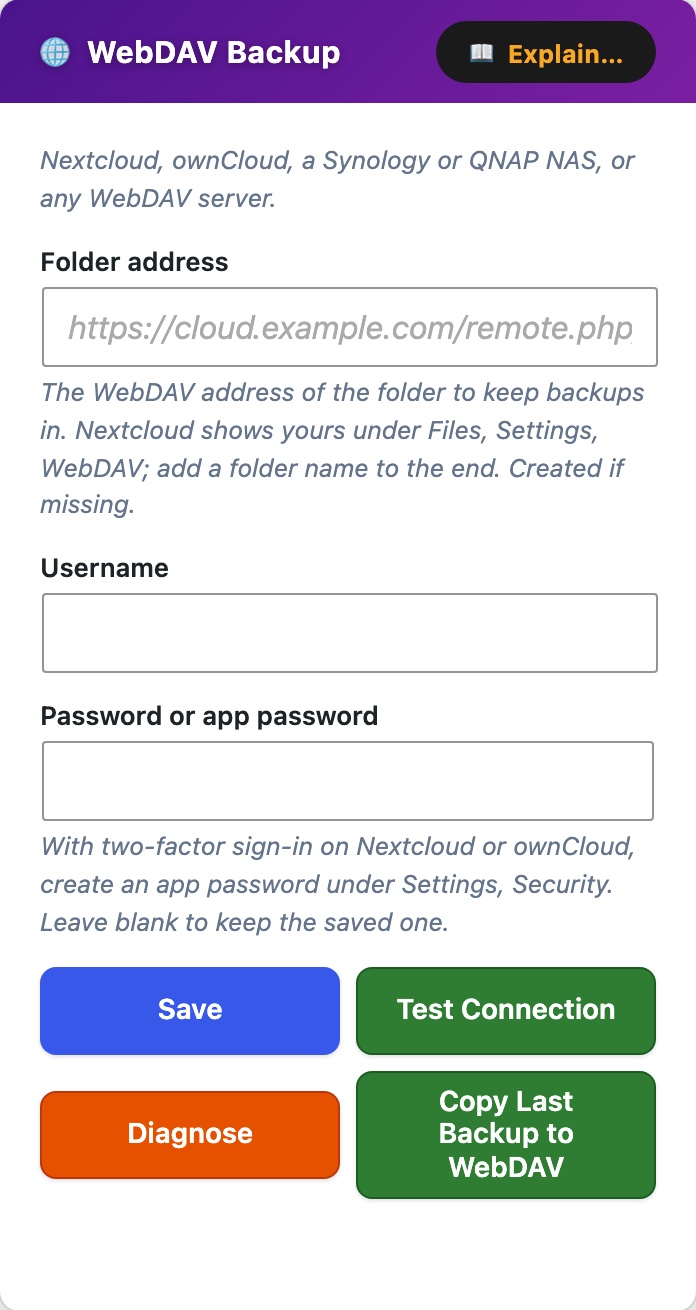
The WebDAV Backup card copies backups to any WebDAV folder: Nextcloud, ownCloud, a Synology or QNAP NAS, or a hosting provider’s WebDAV storage. It uses ordinary HTTPS, so it works from any host.
Folder address, the WebDAV address of the folder to keep backups in. Nextcloud shows yours under Files → Settings → WebDAV; add a folder name to the end (for example https://cloud.example.com/remote.php/dav/files/you/backups). The folder is created if missing.
Username and Password or app password. With two-factor sign-in on Nextcloud or ownCloud, create an app password under Settings → Security and use that. The password is kept in a protected file outside the database; leave it blank to keep the saved one.
Buttons on this card: Save, Test Connection (signs in, creates the folder if needed and counts the backups in it), Diagnose, and Copy Last Backup to WebDAV, which uploads the most recent local backup straight away.
Large backups. The backup is streamed to the server in one upload without loading it into memory, to a .part file that is renamed when complete. Downloads resume from where they stopped. When the server reports free space (Nextcloud and ownCloud do), the plugin checks it before uploading and offers Delete oldest when it is short. Very large uploads can hit a size limit in the web server in front of WebDAV; on Nextcloud behind nginx, raise client_max_body_size.
Synology NAS: in Package Center install WebDAV Server, open it and enable HTTPS (port 5006 by default). Give the backup user read/write permission on a shared folder, then use https://your-nas:5006/<shared-folder>/backups as the folder address.
QNAP NAS: Control Panel → Network & File Services → Win/Mac/NFS/WebDAV → WebDAV, enable it, and give the backup user read/write on a shared folder. The folder address is https://your-nas:<port>/<shared-folder>/backups, with the HTTPS port set there.
The WordPress server must be able to reach the NAS over HTTPS. A NAS at home usually needs that port forwarded, or a VPN. An address on your private network is refused until you allow private destinations.
Setup: fill in the card, click Save, then Test Connection. Then tick WebDAV Backup under Include in cloud backup in Cloud Backup Settings and click that card’s Save, otherwise uploads are skipped.