← CloudScale Plugin Help/CloudScale Backup & Restore, Free WordPress Backup Plugin with One-Click Restore & Cloud Sync
AWS S3
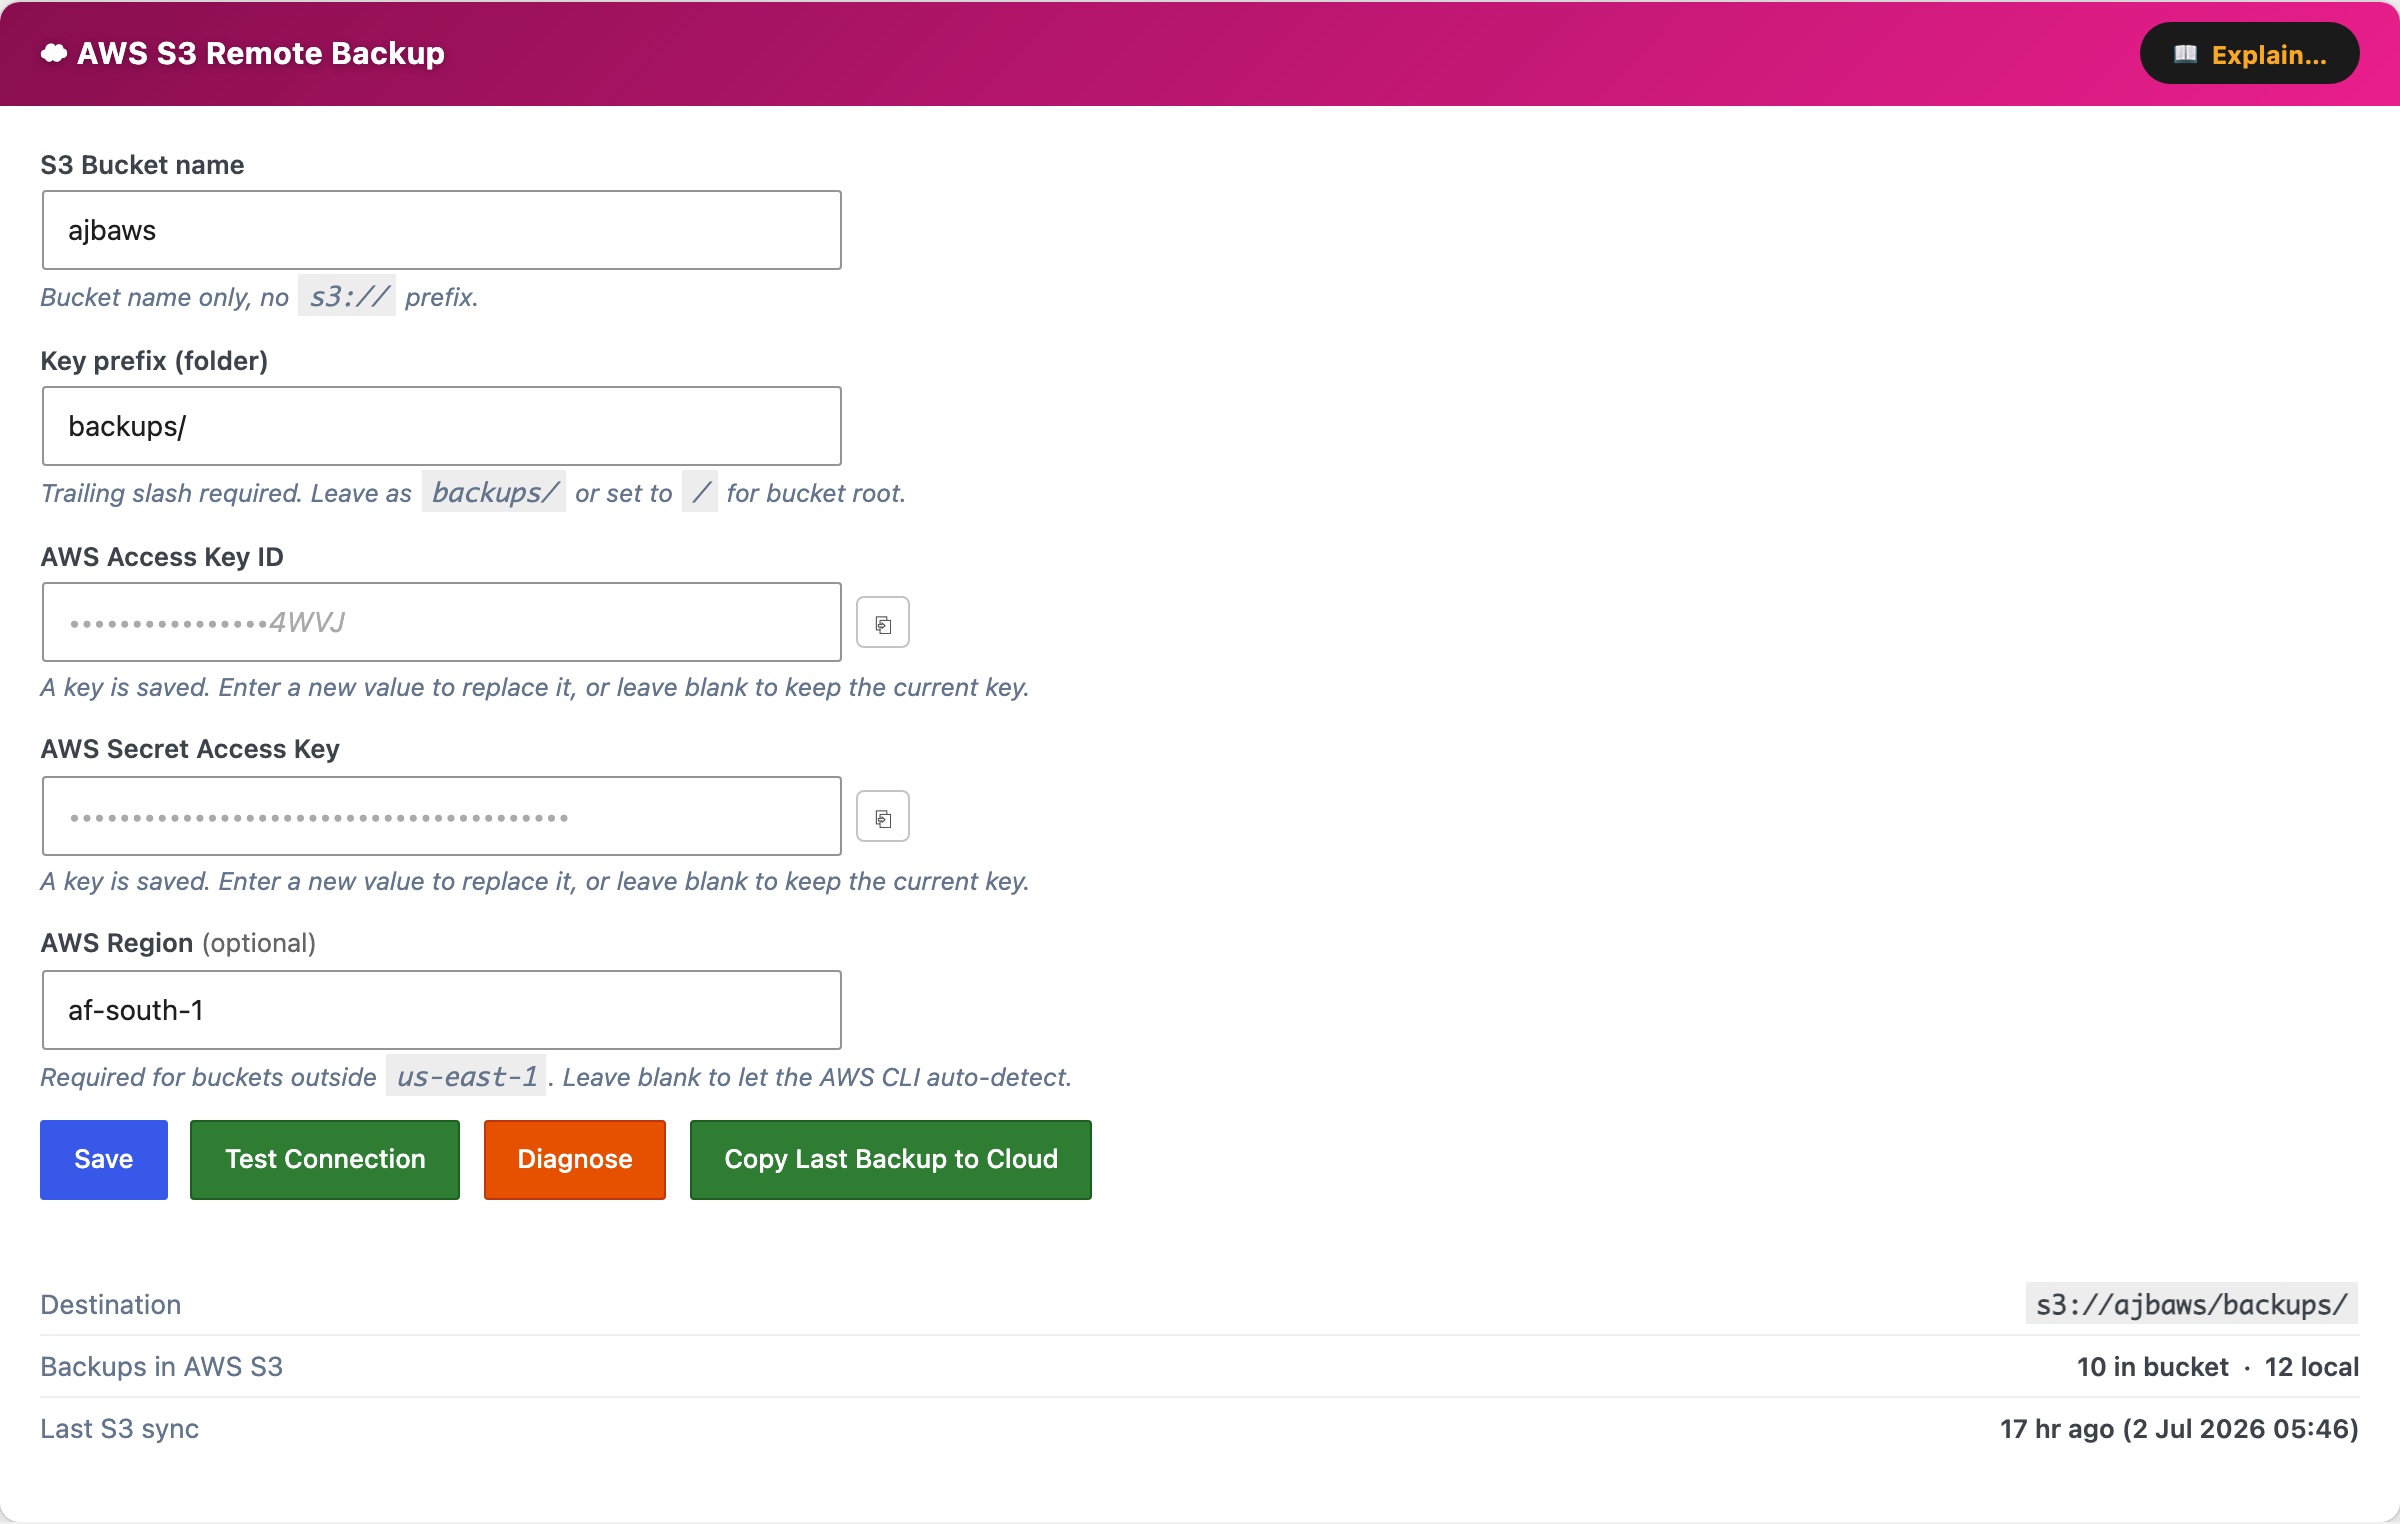
The AWS S3 Remote Backup card uses the AWS CLI to upload backup zips to an S3 bucket after every local backup. Requires the AWS CLI on the server and IAM credentials with s3:PutObject, s3:ListBucket, and s3:DeleteObject permissions on the target bucket.
S3 Bucket name, bucket name only, no s3:// prefix (e.g. my-wp-backups).
Key prefix (folder), path prefix applied to all uploaded objects. Trailing slash required (e.g. backups/). Use / to store at the bucket root.
Test Connection, writes a small test file to the bucket and verifies it succeeds, confirming credentials and permissions are correct.
Diagnose, shows AWS CLI version, bucket, and last-sync details to help debug connection problems.
Copy Last Backup to Cloud, immediately copies the most recent local backup zip to S3, outside of any schedule. Does not create a new backup, it copies whatever zip is already on the server. S3 has no practical storage quota for most accounts, so no pre-flight space check is performed.
When configured, the card shows the full S3 destination path (s3://bucket/prefix/), number of objects in the bucket, and time of last upload. If an automatic sync fails, the plugin retries once after 5 minutes.
AWS CLI Setup Guide
Step 1, Install the AWS CLI on the server
Amazon Linux 2023 / Amazon Linux 2:
sudo dnf install -y awscli
Ubuntu / Debian (ARM64):
curl "https://awscli.amazonaws.com/awscli-exe-linux-aarch64.zip" -o awscliv2.zip
unzip awscliv2.zip && sudo ./aws/install
Ubuntu / Debian (x86_64):
curl "https://awscli.amazonaws.com/awscli-exe-linux-x86_64.zip" -o awscliv2.zip
unzip awscliv2.zip && sudo ./aws/install
Verify: aws --version
Step 2, Grant AWS credentials
Option A, IAM Instance Role (recommended, no keys on disk)
- AWS Console → IAM → Roles → Create role
- Trusted entity: AWS service → EC2 → Next
- Skip managed policies → Create role (e.g. name it
ec2-s3-backup) - Open the new role → Add permissions → Create inline policy → JSON tab → paste:
{
  "Version": "2012-10-17",
  "Statement": [{
    "Effect": "Allow",
    "Action": ["s3:PutObject","s3:ListBucket","s3:DeleteObject","s3:GetObject"],
    "Resource": [
      "arn:aws:s3:::YOUR-BUCKET-NAME",
      "arn:aws:s3:::YOUR-BUCKET-NAME/*"
    ]
  }]
}
- Name the policy (e.g.
ec2-s3-backup-policy) → Create policy - EC2 Console → select your instance → Actions → Security → Modify IAM role → select the role → Update IAM role
- Verify (no keys needed):
aws sts get-caller-identity
Option B, IAM User with access keys
- AWS Console → IAM → Users → Create user (e.g.
cloudscale-s3) - Attach the same inline policy as Option A (scoped to your bucket)
- Open the user → Security credentials → Create access key → copy the Access Key ID and Secret Access Key
- SSH into the server and configure as the web server user:
sudo -u apache aws configure
# Enter when prompted:
AWS Access Key ID:     AKIA...
AWS Secret Access Key: your-secret-key
Default region name:   af-south-1
Default output format: json
Credentials are stored in /usr/share/httpd/.aws/credentials (apache) or /var/www/.aws/credentials (www-data). Verify with: sudo -u apache aws sts get-caller-identity
Step 3, Save settings in the plugin
Enter your bucket name and prefix, click Save AWS S3 Settings, then Test Connection.