← CloudScale Plugin Help/CloudScale Backup & Restore, Free WordPress Backup Plugin with One-Click Restore & Cloud Sync
Getting Started
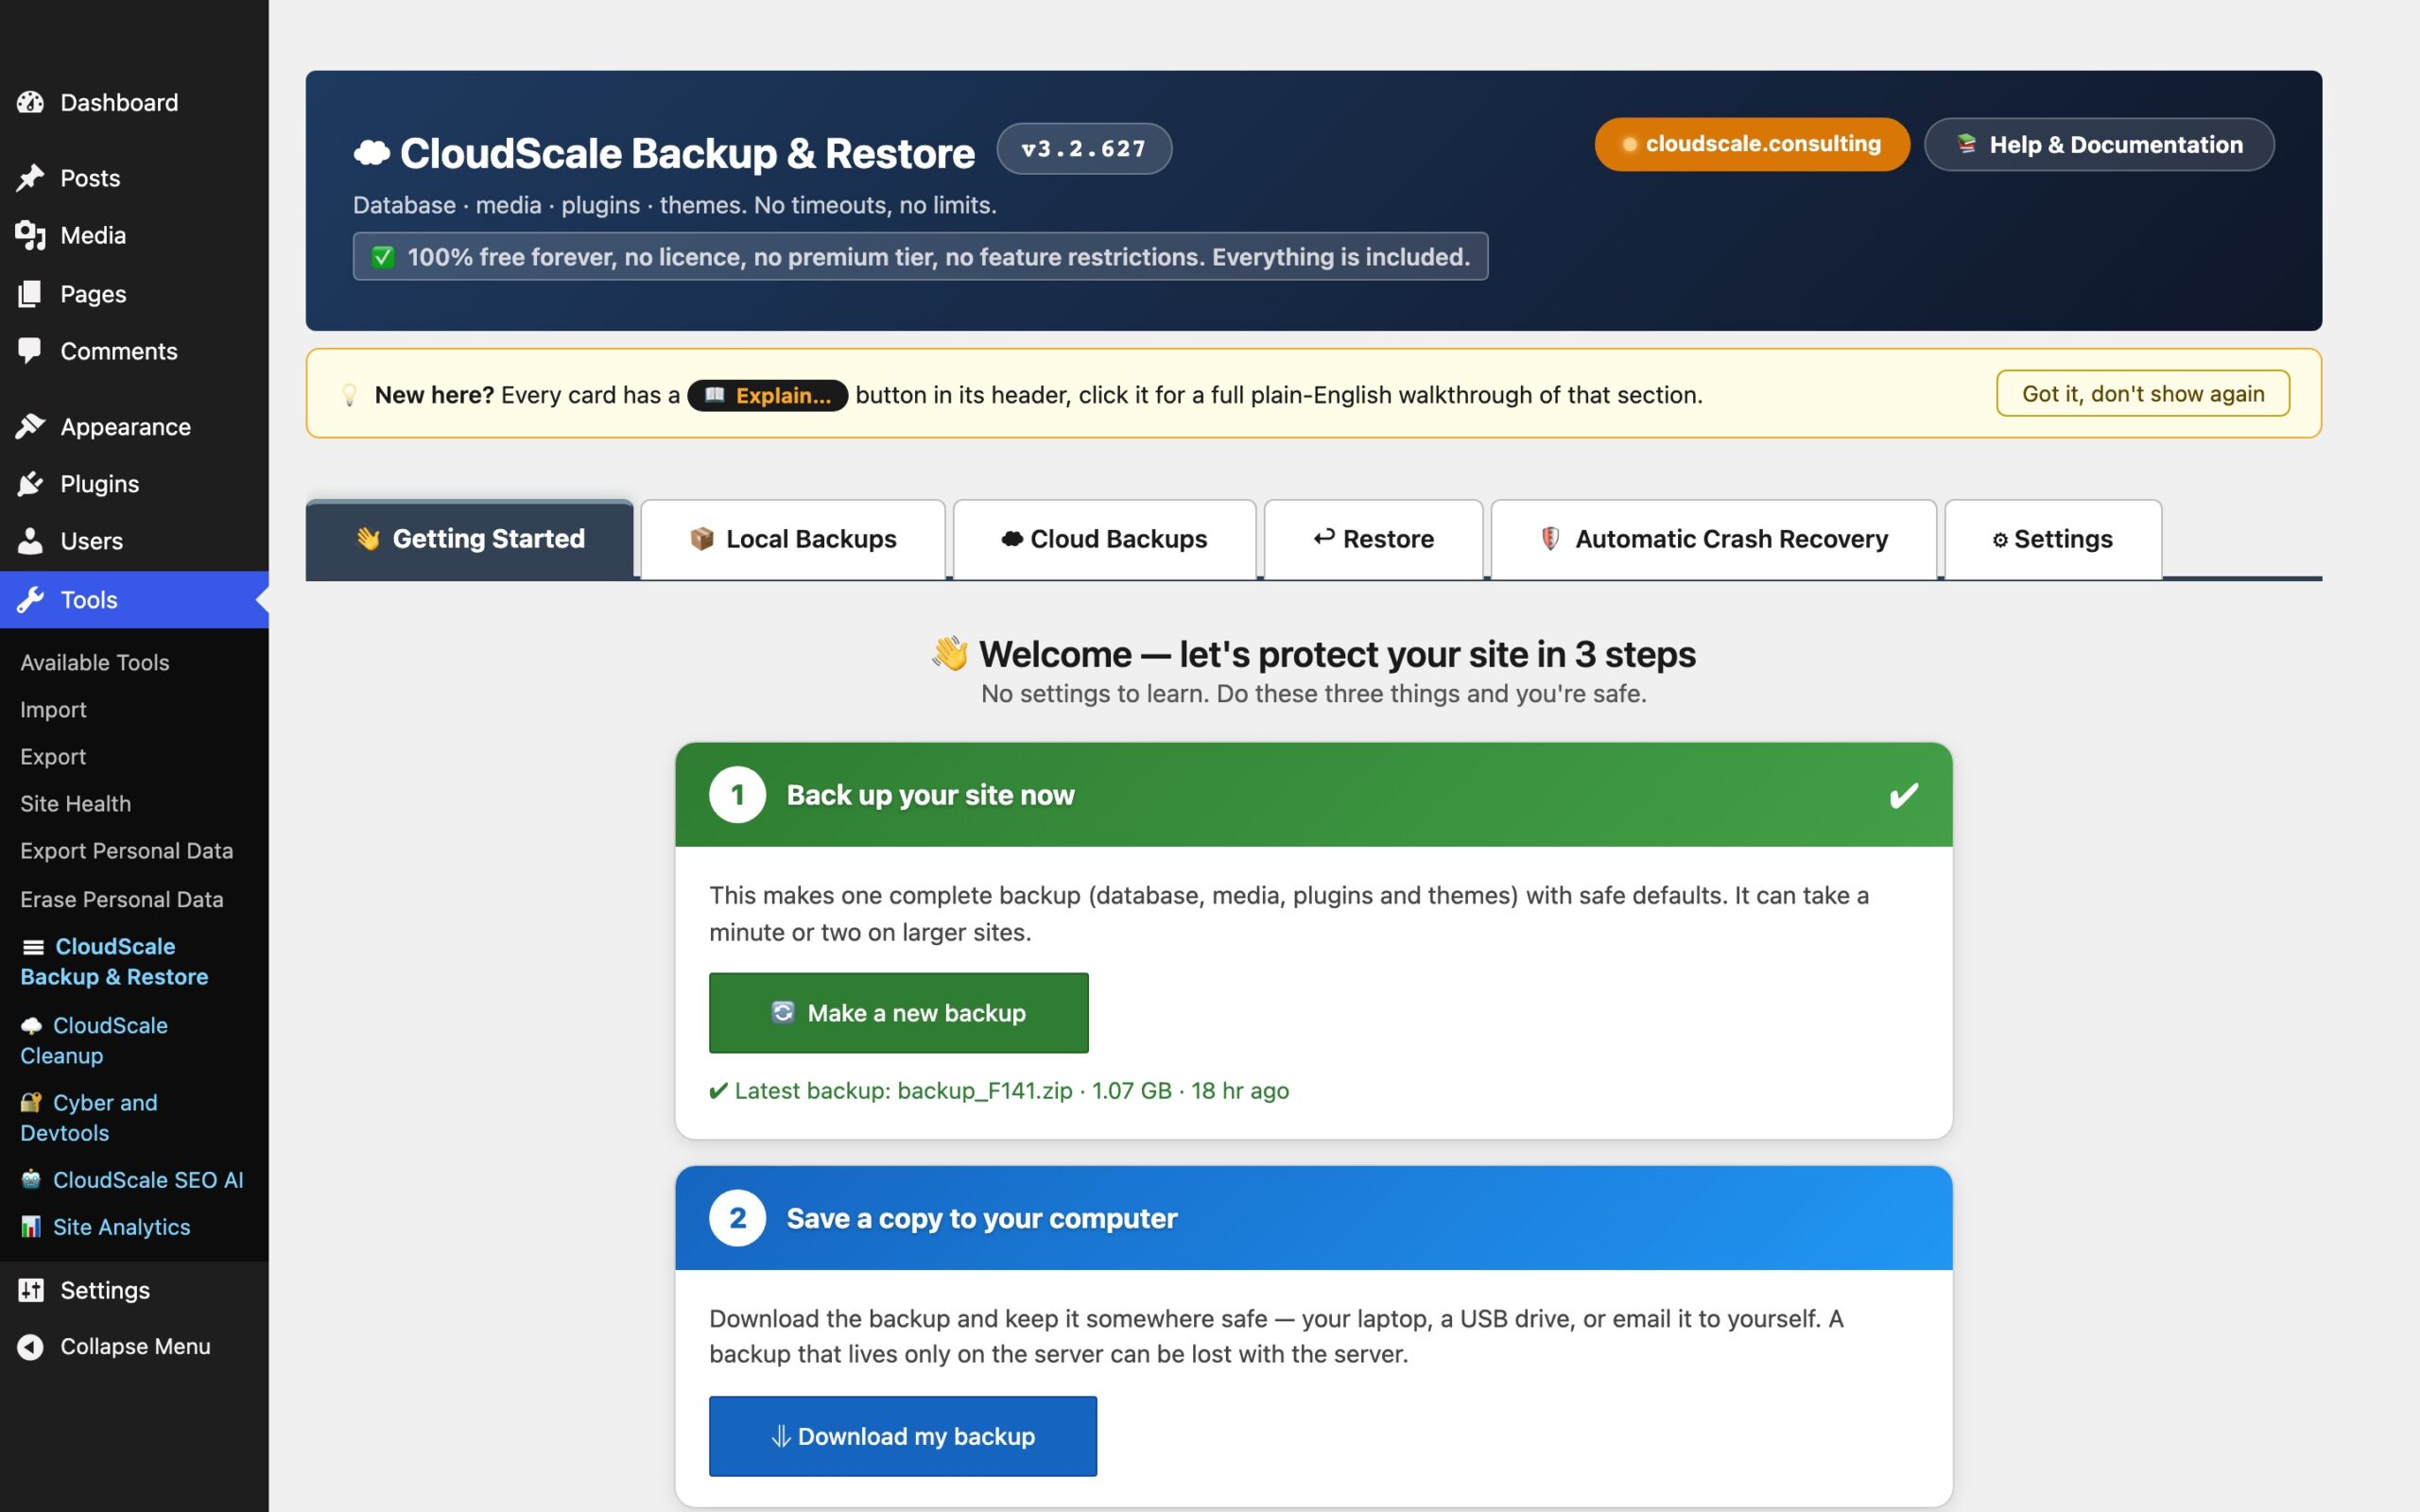
The Getting Started tab is your home base. It shows the current state of your site’s protection at a glance and walks you through the three things that make a site safe: create a backup, copy it offsite, and set a schedule.
Step 1: Create a backup
Click Back Up Now to create a full local backup immediately. The most recent backup’s filename, size, and age are shown once one exists. You can download it directly from here with the Download button.
Step 2: Copy to the cloud
Choose where offsite copies go: CloudScale Managed (the recommended zero-config option; backups land in secure EU storage under your subscription) or Your own cloud (AWS S3, Google Drive, Dropbox, or OneDrive, configured in the Cloud Backups tab).
Once a destination is selected, Copy Last Backup to Cloud pushes your most recent backup immediately with a live progress bar.
CloudScale Managed subscription: subscribe directly from this panel. Once active, the card shows your licence key, storage used, and a link to view all stored backups in the Restore tab.
Step 3: Set a schedule
Enable Automatic backups and choose a frequency. The schedule runs via WordPress cron. For production sites, replace WP-Cron with a real server cron for reliability (see the Backup Schedule card on the Local Backups tab for setup instructions).
Optionally enable Email reminders. If no backup has been created within the reminder interval you’ll receive a nudge email to the admin address.