← CloudScale Plugin Help/CloudScale Backup & Restore, Free WordPress Backup Plugin with One-Click Restore & Cloud Sync
AWS EC2 AMI Snapshot
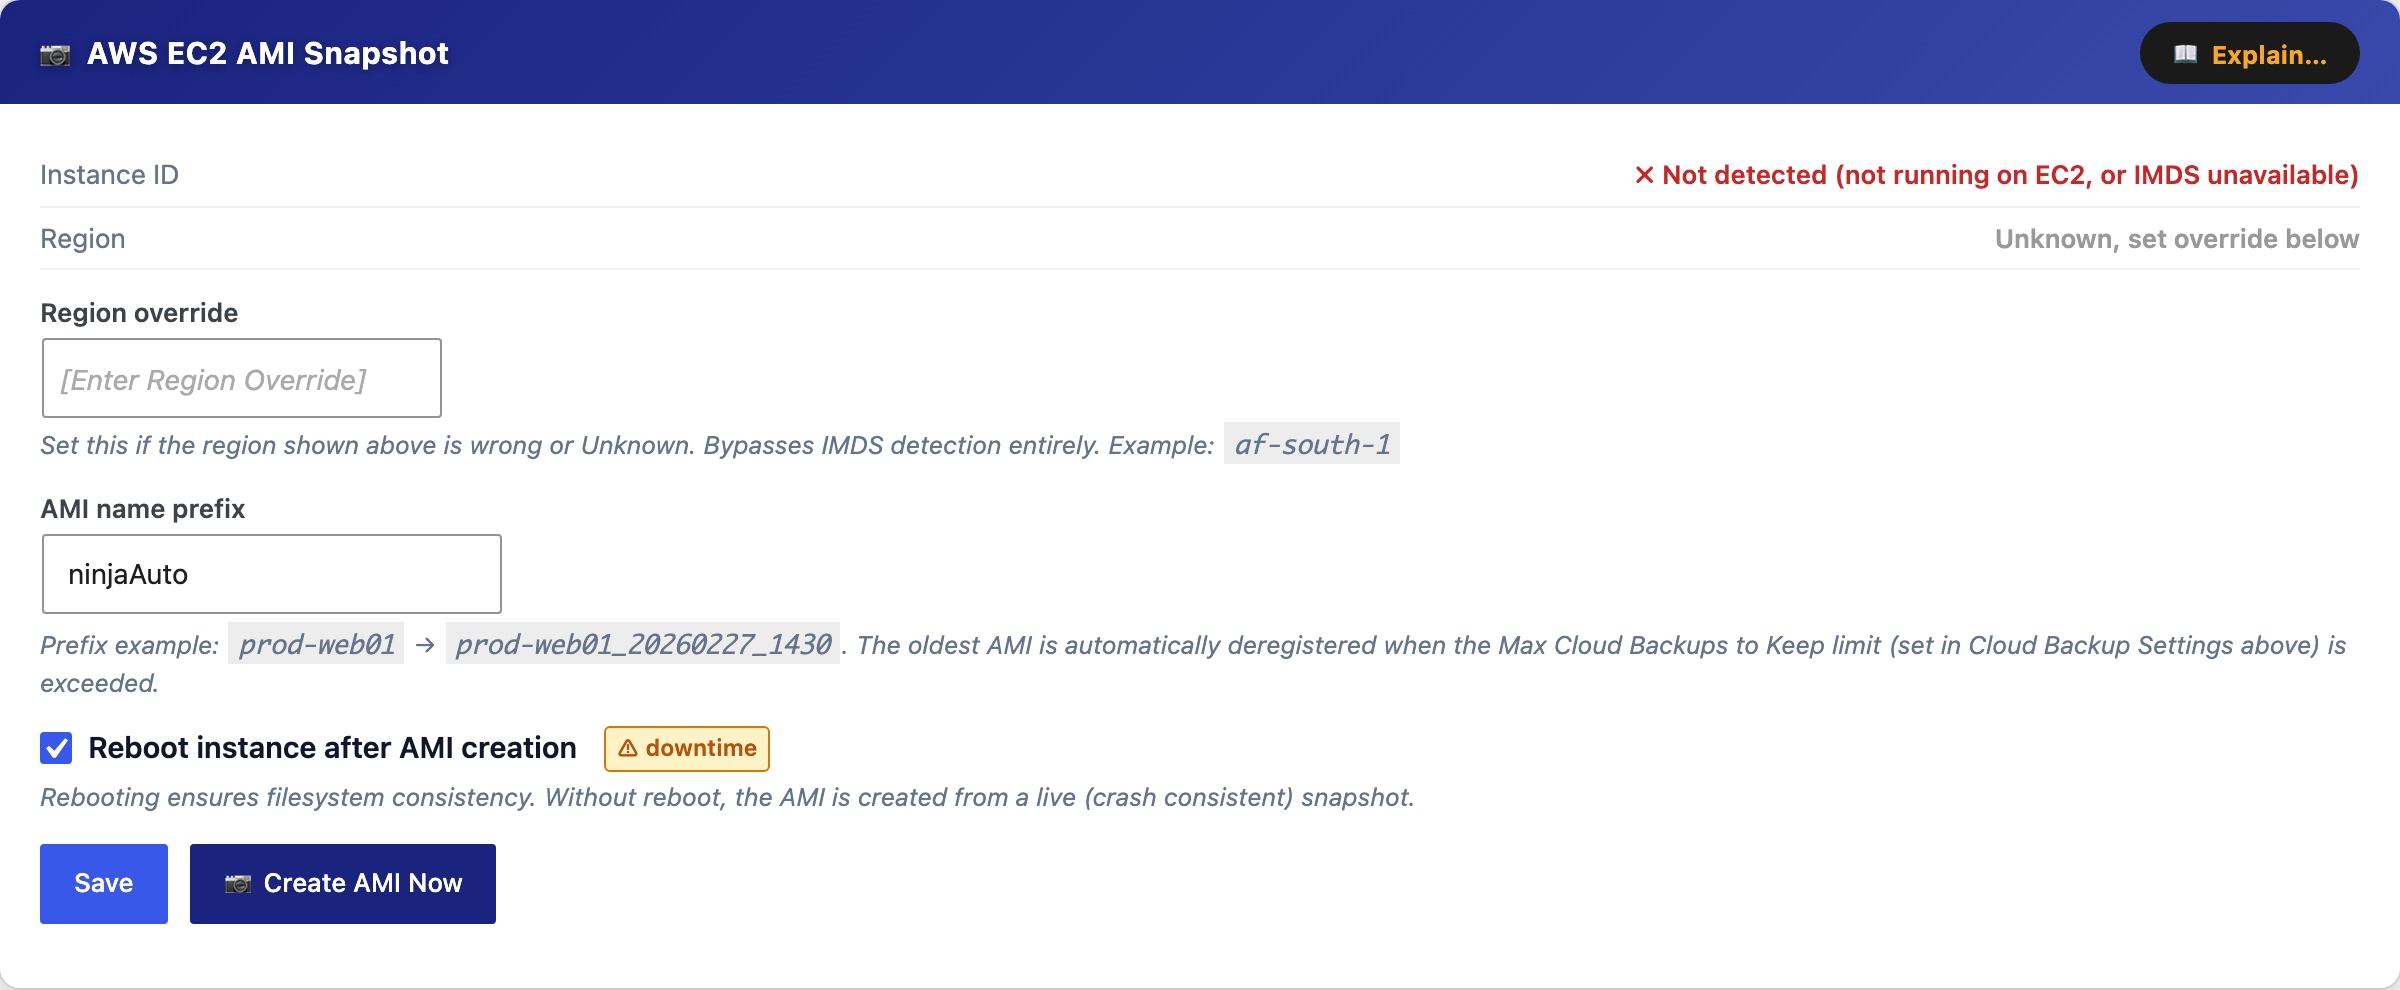
The AWS EC2 AMI Snapshot card creates an Amazon Machine Image of the EC2 instance your WordPress site runs on, a complete disk-level snapshot of the entire server including OS, web server config, PHP, and all files. Unlike a file backup, an AMI lets you recover an unbootable or completely broken server. Requires the AWS CLI with ec2:CreateImage, ec2:DescribeImages, ec2:DeregisterImage, and ec2:RebootInstances permissions.
Instance ID / Region, detected automatically via the EC2 Instance Metadata Service (IMDS). If not running on EC2, or if IMDS is unavailable, AMI creation is disabled.
Region override, set this if the auto-detected region is wrong or Unknown (e.g. af-south-1).
AMI name prefix, prepended to each AMI name (e.g. prod-web01 produces prod-web01_20260227_1430). The oldest non-golden AMI is deregistered automatically when Max Cloud Backups to Keep is exceeded.
Reboot instance after AMI creation, rebooting ensures filesystem consistency. Without reboot the AMI is crash-consistent (safe for most workloads). Marked with a downtime warning badge.
Create AMI Now, triggers an immediate AMI snapshot outside of any schedule. Status shows pending then available after 5 to 15 minutes. AMI state is polled automatically in the background, you do not need to keep the page open, but you can monitor progress in the Activity Log.
The AMI history table lists all tracked AMIs with name, tag, AMI ID, creation date, and state. Row actions:
- Refresh, queries AWS for the current state (useful for AMIs still in pending).
- Golden image (star), permanently protects an AMI from automatic deletion. Does not count towards the retention limit. Up to 4 golden images per provider.
- Restore, available for available AMIs; replaces the root volume. All changes since the snapshot are permanently lost. The server reboots.
- Delete, deregisters the AMI from AWS and removes the record.
The Delete Soon badge appears on the oldest non-golden AMI when the retention limit is about to be exceeded, it will be deregistered automatically on the next cloud backup run.
AWS CLI Setup Guide
If you already configured the AWS CLI for S3, you can reuse it, just extend the IAM policy with the EC2 permissions below.
Step 1, Install the AWS CLI on the server
Amazon Linux 2023 / Amazon Linux 2:
sudo dnf install -y awscli
Ubuntu / Debian (ARM64):
curl "https://awscli.amazonaws.com/awscli-exe-linux-aarch64.zip" -o awscliv2.zip
unzip awscliv2.zip && sudo ./aws/install
Ubuntu / Debian (x86_64):
curl "https://awscli.amazonaws.com/awscli-exe-linux-x86_64.zip" -o awscliv2.zip
unzip awscliv2.zip && sudo ./aws/install
Verify: aws --version
Step 2, Grant AWS credentials
Option A, IAM Instance Role (recommended, no keys on disk)
- AWS Console → IAM → Roles → Create role
- Trusted entity: AWS service → EC2 → Next
- Skip managed policies → Create role (e.g. name it
ec2-ami-backup) - Open the new role → Add permissions → Create inline policy → JSON tab → paste:
{
  "Version": "2012-10-17",
  "Statement": [{
    "Effect": "Allow",
    "Action": [
      "ec2:CreateImage",
      "ec2:DescribeImages",
      "ec2:DeregisterImage",
      "ec2:CreateReplaceRootVolumeTask",
      "ec2:DescribeReplaceRootVolumeTasks",
      "ec2:RebootInstances"
    ],
    "Resource": "*"
  }]
}
- Name the policy (e.g.
ec2-ami-backup-policy) → Create policy - EC2 Console → select your instance → Actions → Security → Modify IAM role → select the role → Update IAM role
- Verify:
aws sts get-caller-identity
Option B, IAM User with access keys
- AWS Console → IAM → Users → Create user (e.g.
cloudscale-ami) - Attach the same inline policy as Option A
- Open the user → Security credentials → Create access key → copy the Access Key ID and Secret Access Key (shown once only)
- SSH into the server and configure as the web server user:
sudo -u apache aws configure
# Enter when prompted:
AWS Access Key ID:     AKIA...
AWS Secret Access Key: your-secret-key
Default region name:   af-south-1
Default output format: json
Verify: sudo -u apache aws sts get-caller-identity
Step 3, Configure this plugin
- Enter an AMI name prefix (e.g.
prod-web01) - If the detected region is wrong, enter it in Region override (e.g.
af-south-1) - Click Save AWS EC2 AMI Settings
- Click Create AMI Now to test, status shows pending then available after 5 to 15 minutes